
How to Do Deep Side Part on Lace Wig

How to Do Deep Side Part on Lace Wig Step-by-steps
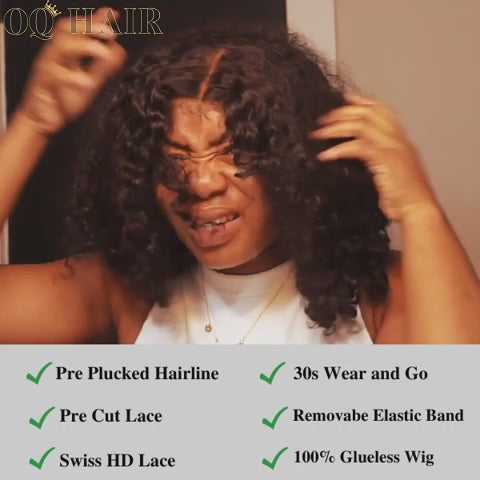
Things You May Need
Wig: To achieve the perfect deep side part effect, it's best to opt for a lace front wig with great value, especially one with a 13x4 or 13x6 frontal area. This type of wig has a larger lace area, allowing for a deeper side part. While some closure wigs also allow for side parts, they may not facilitate the creation of baby hair around the ear area. If you prioritize precision and intricate detailing, then a parting max lace front wig is more suitable for you.
Alcohol: Used to clean the skin and remove oils before applying the glue.
Lace Glue: You can choose any lace glue or adhesive that works well for you.
Hot Comb: Used to push back the hairline and make it look clean and realistic.
Blow Dryer: Used on a high cool setting to melt the lace and secure it in place.
Eyebrow Razor: Used to cut off excess lace and create natural-looking baby hairs.
Carrot Wax Stick: Used to press through the hair and create a flat, sleek finish.
Edge Control: Edge control is commonly used on natural hair to tame and smooth the edges of the hairline, controlling frizz and flyaways.
Step-by-steps Guide
1. Prepare the wig: Cut off the ear tabs for a comfortable fit, and tuck the frontal wig behind your ear to ensure it looks natural and lays correctly.
2. Prepare the hairline: Use a hot comb to push back the hairline and make it look clean, visible, and realistic. It's important to clean your skin thoroughly before applying the wig. Oils on the skin can hinder the adhesion of the glue, causing the wig to lift and not stay in place properly. Clean the skin with acetone or alcohol to ensure a clean surface for better glue adherence.
3. Apply glue: Use a lace glue to secure the wig. Spread the glue evenly on both your skin and the cap, and make sure it's clear or blow-dried before moving on to the next layer.
4. Melt the lace: Once the glue is applied, melt the lace by using a blow dryer on a high cool setting. This will make the lace blend with your skin and create a scalp-like appearance.
5. Style the hair: Use inspiration pictures as a reference to achieve the desired deep side part and sleek look. Straighten the hair using a hot comb and a wax stick for a flat and silky finish.
6. Cut off excess lace: Cut the lace in the middle and use an eyebrow razor in a zigzag motion to remove any excess lace. OQ Hair's HD super thin lace wig with pre-plucked hairline make this step easier.
7. Create baby hairs: Use your eyebrow razor to create small, natural-looking baby hairs. Curl them with a small flat iron for a fluffy and pretty finish.
8. Mold and style baby hairs: Use edge control and an edge brush to mold the baby hairs, making them look seamless and natural. Mold them towards your actual hair to blend everything together.
9. Define the part: Use a small makeup brush and cream foundation to define the part even more, giving it a scalp-like appearance. Finish with holding spray and a hot comb to ensure everything stays in place.

Additional Tips for a Successful Install
1. Choose the right lace: Look for a lace that matches your skin tone to ensure a seamless blend. Also, consider the thickness and quality of the lace to make melting easier.
2. Apply glue sparingly: Use a light hand when applying glue to avoid excess product. This will prevent buildup and a heavy, unnatural look.
3. Take your time with the melting process: Melting the lace is a crucial step, so make sure to take your time and be patient.
4. Experiment with different baby hair styles: Play around with the placement and style of your baby hairs to find what suits you best. You can create soft waves, curls, or a sleek swoop, depending on your personal preference.
5. Use edge control for a sleek finish: Applying edge control to your baby hairs will help them lay down and stay in place throughout the day. Use a small brush or comb to shape and mold the baby hairs.
6. Don't forget to blend your natural hair: If you have any hair out or leave-out, make sure to blend it seamlessly with the wig for a natural look. Use a hot comb or flat iron to straighten and blend the natural hair with the wig hair.
7. Protect your hairline: Before applying the wig, make sure to protect your natural hairline with a wig cap or by using a silicone-based scalp protector. This will prevent damage and tension on your edges.
8. Practice makes perfect: Like any skill, achieving the perfect deep side part sleek install takes practice. Don't be afraid to experiment, try different techniques, and take your time to perfect your technique.

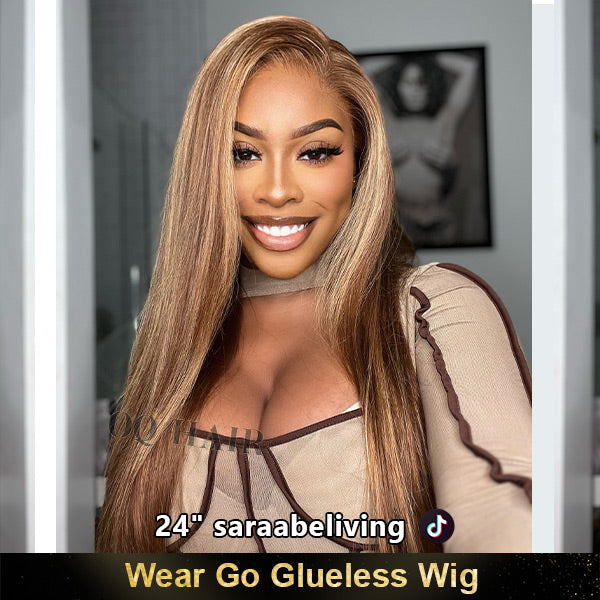
Side Part Hairstyle Ideas