
A Detailed Guide: How to Do Chunky Highlights
Chunky highlights have made a strong comeback in the world of hair fashion, providing a bold and vibrant way to elevate your look. If you're ready to embrace this trend and add some drama to your hair or refresh your old wig, this detailed guide will walk you through the process of achieving gorgeous chunky highlights.

A Detailed Guide: How to do Chunky Highlights
Supplies You May Need
Human Hair Wig-If you intend to refresh your wig with a highlights look, make sure it is a 100% human hair wig. Only pure virgin human hair wigs allow for styling, dyeing, and heat processing. Or you can recolor your highlight wig.
Foil-Foils-They are used to separate the hair sections and protect the surrounding hair from getting colored. Use pre-cut foil sheets or a foil roll to cut your desired size.
Hair Lightener and Developer-Choose a high-quality hair lightener or bleach powder to lift the color of the hair. It is important to use a lightener that suits your client's hair type and desired level of lift. Besides, You will need a developer to mix with your hair lightener. The developer's strength or volume should be chosen based on the level of lift you want to achieve and the manufacturer's recommendations.
Mixing Bowl and Brush-Use a mixing bowl and brush to mix the hair lightener and developer together. This will ensure an even consistency for application. Moreover, a tint brush or color applicator brush allows for precise application.
Sectioning Clips and Comb-Use sectioning clips to hold the hair in place while you work on different sections. They help keep the hair organized and out of the way. A comb is essential for sectioning the hair and creating clean partings.
Toning or Root Smudge Color-Depending on the desired effect, you may need a toner or root smudge color to create depth and blend the highlights.
Gloves: Wear gloves to protect your hands from coming into direct contact with the hair lightener or color.
Balayage Board (Optional)-If desired, you can use a balayage board to help apply the lightener more freely and create a softer, blended effect.
Step-by-steps GuideHuman Hair Wig-If you intend to refresh your wig with a highlights look, make sure it is a 100% human hair wig. Only pure virgin human hair wigs allow for styling, dyeing, and heat processing. Or you can recolor your highlight wig.
Foil-Foils-They are used to separate the hair sections and protect the surrounding hair from getting colored. Use pre-cut foil sheets or a foil roll to cut your desired size.
Hair Lightener and Developer-Choose a high-quality hair lightener or bleach powder to lift the color of the hair. It is important to use a lightener that suits your client's hair type and desired level of lift. Besides, You will need a developer to mix with your hair lightener. The developer's strength or volume should be chosen based on the level of lift you want to achieve and the manufacturer's recommendations.
Mixing Bowl and Brush-Use a mixing bowl and brush to mix the hair lightener and developer together. This will ensure an even consistency for application. Moreover, a tint brush or color applicator brush allows for precise application.
Sectioning Clips and Comb-Use sectioning clips to hold the hair in place while you work on different sections. They help keep the hair organized and out of the way. A comb is essential for sectioning the hair and creating clean partings.
Toning or Root Smudge Color-Depending on the desired effect, you may need a toner or root smudge color to create depth and blend the highlights.
Gloves: Wear gloves to protect your hands from coming into direct contact with the hair lightener or color.
Balayage Board (Optional)-If desired, you can use a balayage board to help apply the lightener more freely and create a softer, blended effect.
Step 1: Start by sectioning the hair. You can choose to section off the sides and clip them back, or do a diagonal back section depending on your preference.
Step 2: Take a small section of hair and determine if you want to do a weave or a slice. For chunky highlights, it is recommended to do a weave. Take about 50% of the hair in that section.
Step 3: Place a foil under the section of hair and apply your lightener thoroughly, making sure to fully saturate the hair from root to end.
Step 4: Fold the foil back onto a comb and place it under the section of hair. Pull the comb to create tension and make sure the foil is secure. Repeat the process for the remaining sections, following the natural hairline or doing diagonal back sections. Remember to fully saturate each foil.
Step 5: Experiment with different foil placement techniques. Some stylists prefer to fold the foil without using a comb, while others fold the foil onto the tail of the comb before placing it in the hair. Find what works best for you to prevent slipping.
Step 6: Once you have foiled both sides and the bottom of the nape, move on to the back of the head. Continue foiling in a bricklay pattern, alternating between weaves and slices for added dimension.
Consider using teasing techniques for extra dimension. Tease a section of hair, starting a few inches off the root, weave the teased section, and place a clip just below the tease line to hold it up before placing the foil. Remember to fully saturate each foil and feather the lightener upwards to create a soft blend.
Step 7: Once you've finished foiling, split the remaining hair into three sections. Lightly tease each section from a few inches off the root and apply lightener to the ends, focusing on coating them while maintaining depth with the pieces left out. Optionally, apply some lightener to the sides, maintaining depth and adding brightness to the ends.
Step 8: Move on to the top mohawk section and determine where you want to place the money piece. Bend the hair to create separation, and base the foil placement on that. Apply a few foils for the money piece. Take a small slice at the very top of the money piece and clip it aside. Apply a mix of weaves and slices to create the money piece, working as close to the hairline as possible.
Step 9: Tease the last section of the money piece and apply a thicker weave to maintain depth and brightness.
Step 10: Finish foiling the rest of the mohawk section, alternating between weaves, slices, and teasy light pieces for added dimension.
Step 11: Once all the foils are in place, mix up a root smudge or a shadow root color, about one to two shades darker than the desired outcome. Apply the root smudge along the hairline and gradually move up. Optionally, lightly tap the root of the money piece with the smudge to maintain some brightness while softening the line. Apply the root smudge all over for a blended look.
Step 12: Mix a toner for the ends, choosing a shade that complements the desired result. Apply the toner, making sure to fully saturate the hair, and blend it in with your fingers. Let the glaze and root smudge process for about 10 minutes before rinsing. Finish the process by blow-drying and styling the hair.
Chunky Highlights Inspiration
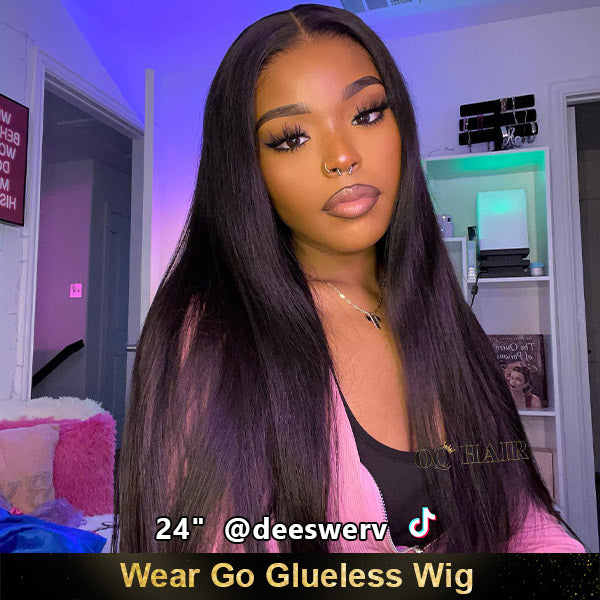
1. Classic Chunky Highlight

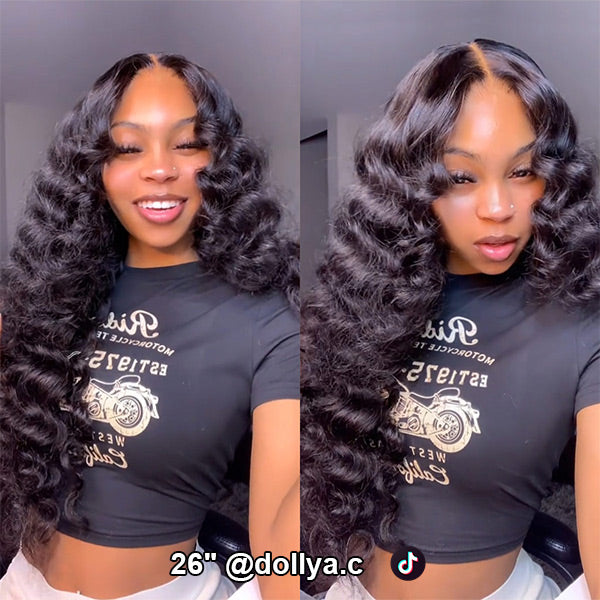
2. Chunky Highlight with Curly Hair

3. Pink Chunky Highlight

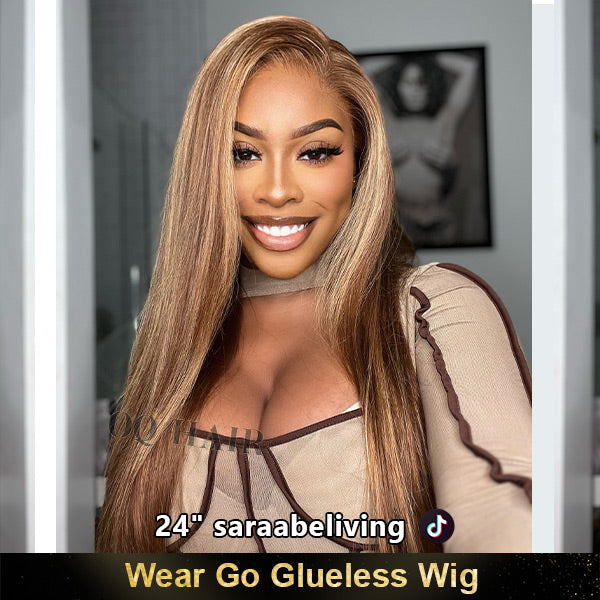
4. Face Frame Blonde Highlights

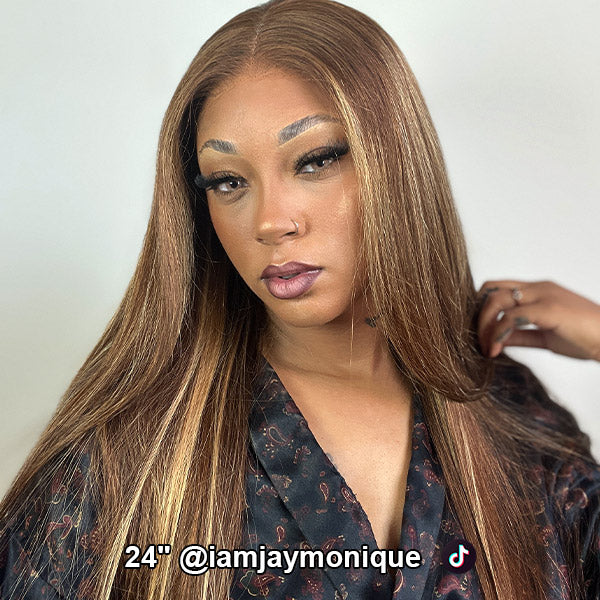
5. Chunky Highlights with Brown Hair